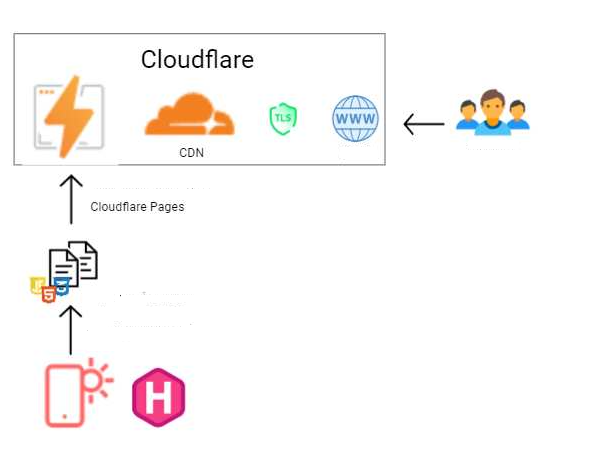
In this guide, we will go through the process of creating a static website using a user-friendly website builder and deploying it via Cloudflare, a recommended platform for hosting static websites for free. We will also configure a custom domain with a security certificate (HTTPS).
By the end of this process, you’ll be able to build a static website easily and on a budget. This guide is suitable for building the following types of websites:
- Business profile website
- Personal portfolio website
- Event website, such as for a wedding or birthday
- Landing page
Unlike website builders that offer a “free” website but later charge a monthly fee to connect a domain, a static site has no hidden costs, ads, or additional fees for domain connection.
The only cost will be the domain price, which is around $10–$12 per year for a standard .com domain.
Steps to Building a Static Website
- Step 1: Design and Create the Static Files
- Step 2: Set up Cloudflare Pages and Upload the Files
- Step 3: Connect a Custom Domain and Add a TLS Certificate for Secure HTTPS Display
Step 1: Creating Static Files Offline
Our first step is to create the static website files. There are many ways to do this, such as using Hugo, installing WordPress locally (LocalWP), and using a plugin like Simply Static to export the site, or using static page builders on your computer, like Mobirise and Nicepage. The free features of these tools are sufficient for creating a business profile or portfolio website. For demonstration purposes, we will use Mobirise.
Mobirise is the simplest free tool I’ve found for building static websites without needing to know how to code. It allows for the creation of professional websites using ready-made blocks and templates. The exported site is responsive and lets you export the HTML, CSS, and JavaScript files to your computer to be uploaded later to your hosting source.
Mobirise makes money by selling blocks and templates or special functions like AI-assisted building. For example, if you want to use a ready-made template specifically built for a certain business (e.g., jewelry, bakeries, law firms), you can purchase them for an additional cost. However, if you are willing to put in a little effort, you can use the system’s simple interface and create everything yourself from the free templates, so purchasing these add-ons isn’t necessary.
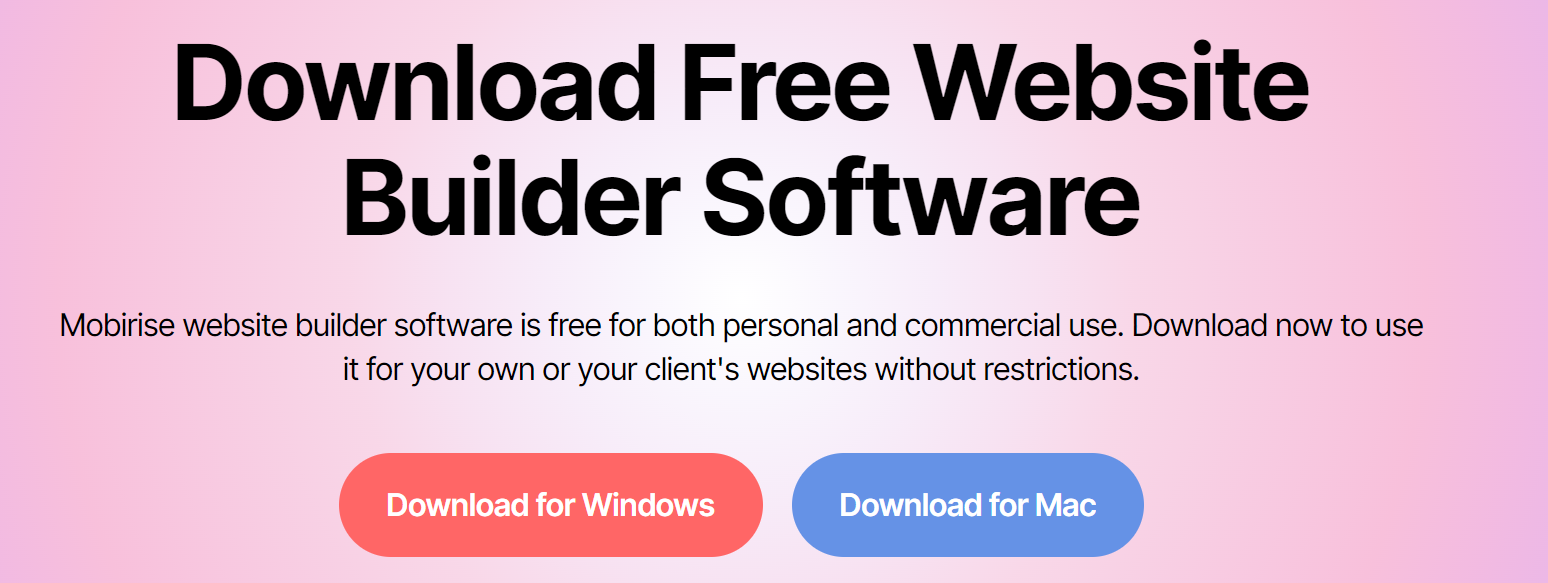
Downloading and Installing Mobirise:
- Go to the official Mobirise website, click the “Download” button for Windows, and once the download is complete, open the installation file.
- Run the installation, follow the instructions, and click “Install”. After installation, open Mobirise and create a new account. Follow the on-screen instructions to complete this step.
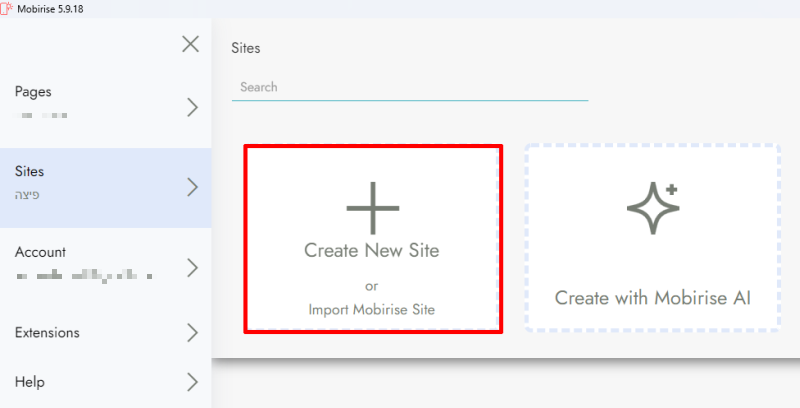
Adding Content (Building the Website)
- To build a new site, choose site -> Create New Site.
Building a New Site from a Template
- Choose a suitable template for the website you want to build.
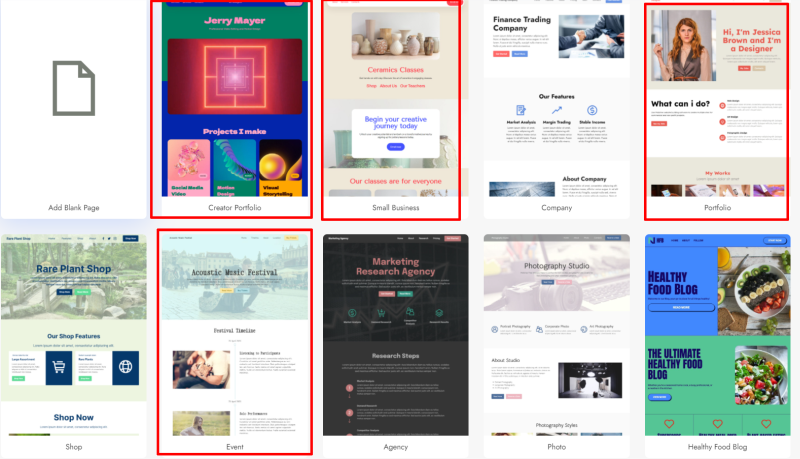
Please note that only a small number of templates will be available to us, but it should be enough to build a small business profile site, a personal profile, or an event website. You can also choose a blank page and design the entire site from scratch visually (without code).
In the next step, you will need to customize the site to match your style or business by editing the text, adding links, and images. Mobirise uses a block-based approach to website building, where each block represents a part of the website, such as headers, footers, and galleries. You can drag and drop blocks from the left panel to the workspace and arrange them in the desired order. Clicking on any block allows you to edit the content, including replacing text and images.
You can customize the style of the blocks using settings like background color, fonts, and spacing. Additionally, you can add links to other pages or external websites by clicking on texts or buttons and entering the URL. After designing the website, it’s a good idea to check that all the links and buttons work correctly in preview mode.
The whole process is quite intuitive, but if needed, you can refer to Mobirise help page.
Once you are done, you can publish the site as a subdomain of Mobirise (e.g., yoursite.mobirise.com).
This approach is not recommended. Using a subdomain does not convey credibility or professionalism and includes additional drawbacks like unwanted ads. Therefore, we won’t stop here; instead, we’ll choose to export and download the static content files of the website we’ve created and host them elsewhere.
Exporting the Website
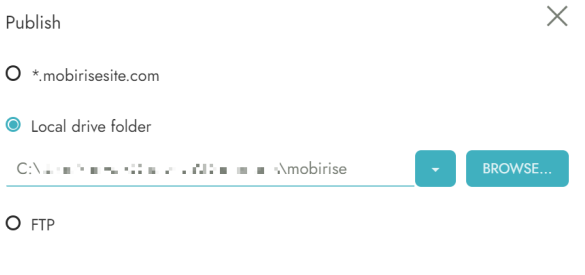
To export the website, click on Publish at the top of the main screen.

Saving the Website Files
Select Local drive folder and save the files in an empty local folder (for example, on the C drive).
It’s recommended to navigate to the folder where you exported the website files and open the index.html file in a browser to ensure that the website displays correctly in offline mode.
Step 2: Setting Up Cloudflare Pages and Uploading Files
There are various services you can use to host your website, such as AWS S3, Netlify, and others. In this guide, I chose to demonstrate the process using the Cloudflare platform.
Cloudflare offers many advantages for hosting static websites: it ensures fast load times via a global CDN network and provides high reliability. Built-in SSL/TLS support ensures that the site is served over HTTPS, and it supports Git-based deployments (not relevant for now) as well as direct file uploads (like in our example). The free plan is very generous and won’t require you to upgrade to a paid plan until your site reaches thousands of views per day, making it both recommended and cost-effective.
Signing Up and Logging In to Cloudflare:
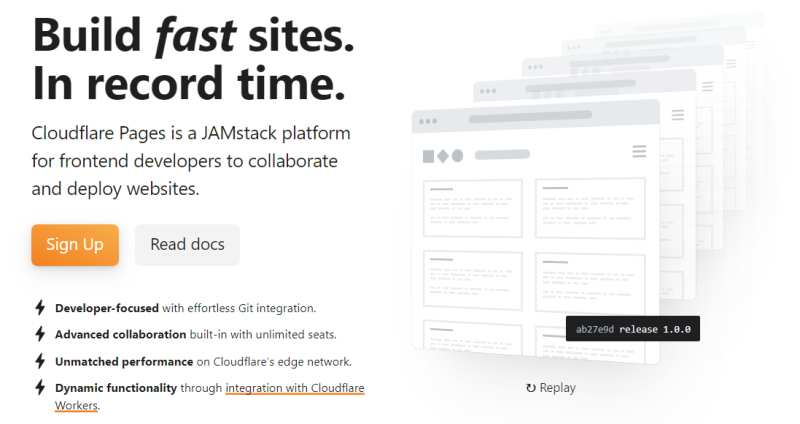
Go to the Cloudflare Pages website and click on “Sign Up” to create an account. Follow the on-screen instructions to complete this step.
Deploying the Website with Cloudflare Pages:
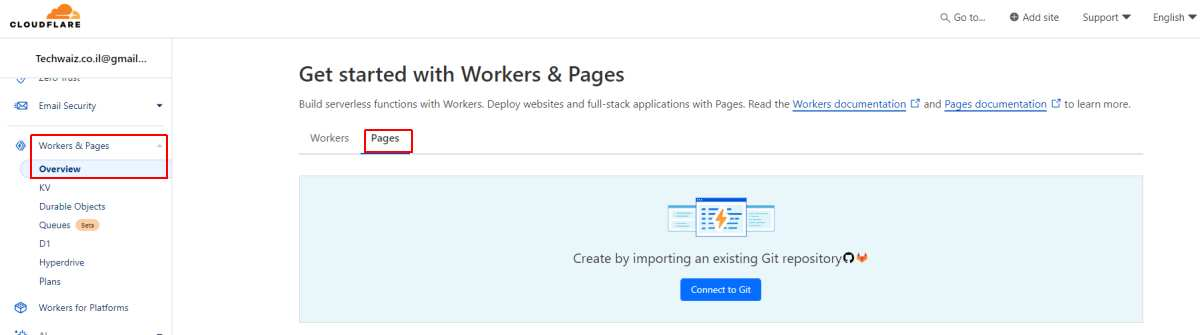
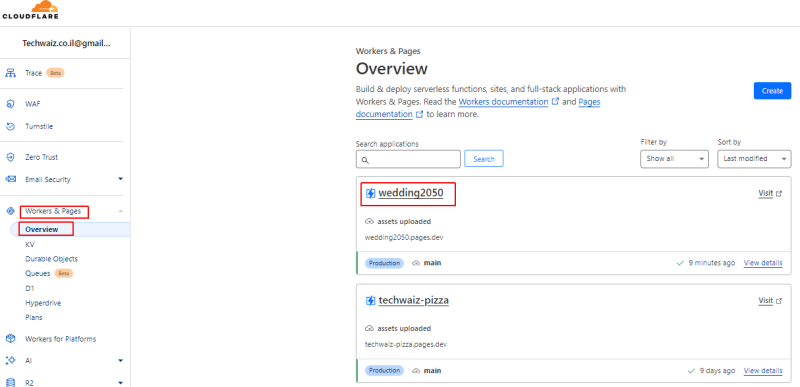
Log in to the Cloudflare dashboard and select your account. On the home page of your account, in the left-hand menu, select: Workers and pages -> Overview
Click on the Pages tab.
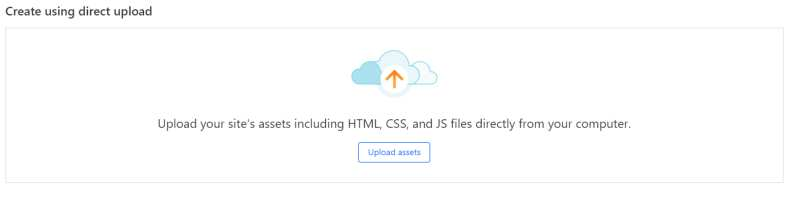
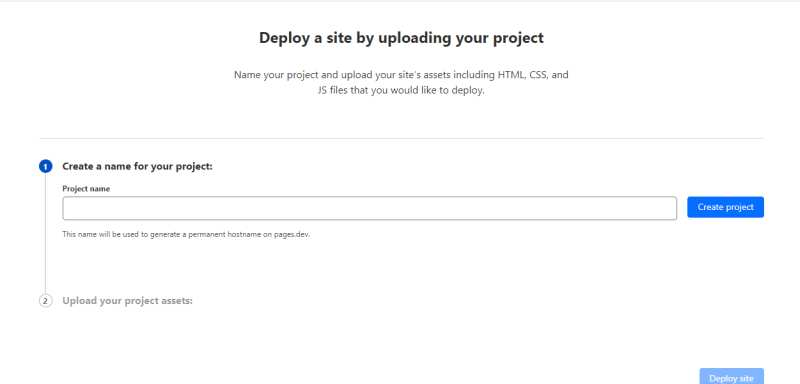
Choose the option Create using direct upload and click on Upload assets.
In the next step, give your project a name and click on Create project.
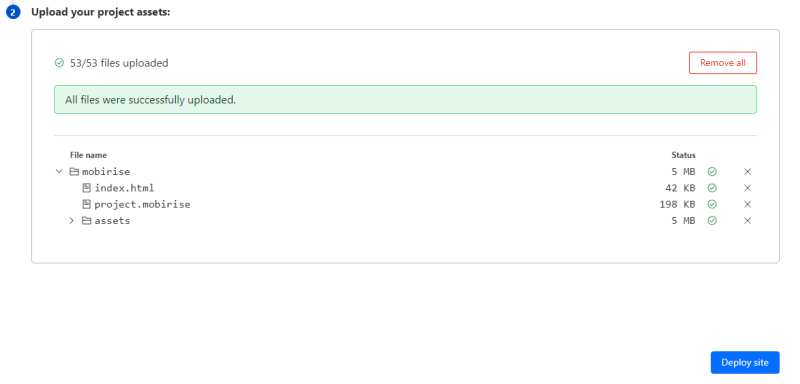
Select the folder where you downloaded the files from Mobirise in Step 1 and upload it by dragging the folder or selecting it and clicking Upload folder.

Choose the folder and click Upload.
After the files have finished uploading, click on Deploy Site.
At the end of this step, your website will be published on the internet as a subdomain under pages.dev.
For example:
yourbusinessname.pages.dev
You will need to wait a few minutes for the site to become available for browsing on the internet.
Step 3: Purchase and Set Up a Custom Domain with SSL
To point a pages.dev subdomain to a custom domain (e.g., yourdomain.com), you can do this in two ways:
- Purchase a domain directly from Cloudflare – (the quickest and easiest way).
- Purchase a domain from an external domain registrar, such as Namecheap and point it to Cloudflare – this is usually cheaper for the first year.
For demonstration purposes, we’ll purchase the domain directly from Cloudflare.
Purchasing a Domain from Cloudflare:
From the menu on the left, select Domain Registration -> Register Domains.
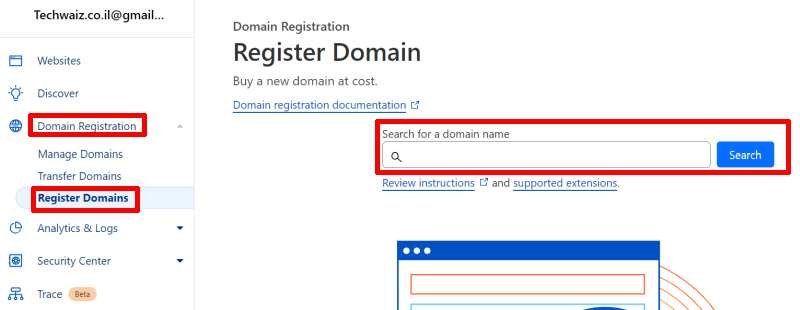
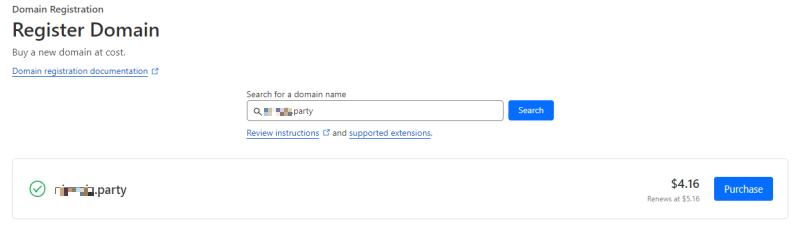
Search for an available domain by entering the name of the business or any other name you wish to give your site. If the domain is available, you can proceed to purchase it.
For this example, I chose a domain ending in .party which costs around $5 per year and could be suitable for an event or wedding. For most other websites (profile or business), I recommend using a .com extension (or co.il, but you can’t purchase co.il from Cloudflare). A .com domain typically costs about $10 per year.
In the next step, enter all the required information and pay with PayPal or a credit card. Since this is a valuable asset, it’s advisable to provide accurate details.

Pay attention to the auto-renewal option and disable it if the site is temporary.
(And don’t forget to renew it every year if it’s a permanent site.)

Associating the Domain with Our Website:
After purchasing the domain, we will associate it with our dev site so that it’s displayed correctly on the internet.
Go to Workers & Pages -> Overview.
Select your project.
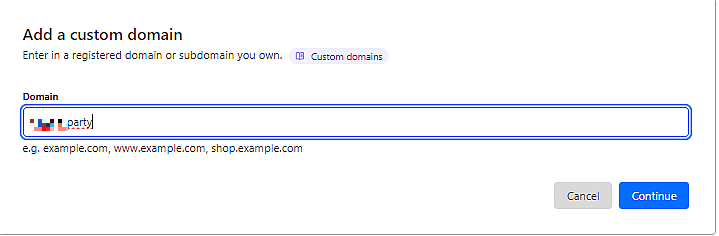
In the Custom Domain tab, select Set up a Custom Domain.

Enter the domain name you purchased.
Click Activate Domain.
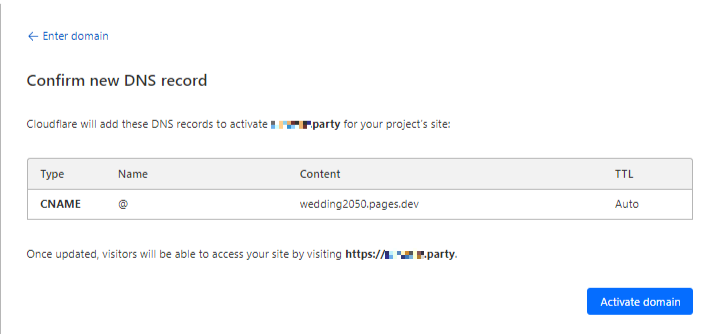
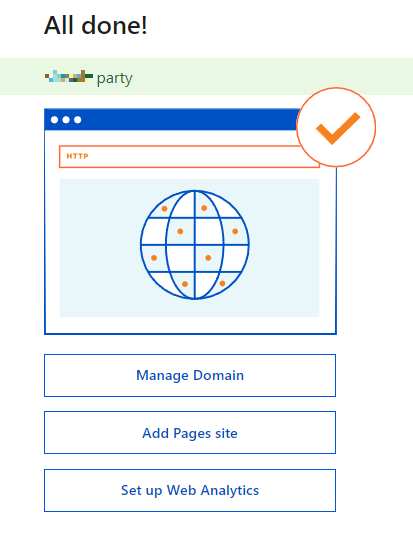
The process of adding a custom domain in Cloudflare can take up to 48 hours (usually less). During this time, the DNS changes should propagate across the internet, and an SSL certificate should be issued. Once the process is complete, the site will be available online with an SSL certificate, allowing secure browsing via HTTPS.

Conclusion
In this guide, I showed how to build and deploy a static website and connect it to a custom domain with a security certificate. The only cost is the yearly domain fee, while the site hosting is free.
Frequently Asked Questions
- Why not use Wix or other website builders?
Wix and similar website builders offer convenience, but they come with monthly fees as soon as you connect a custom domain (over $200 per year for the most basic plan).
By building a static website and hosting it through Cloudflare, you get full control, without ads, and only pay for the domain once per year. - How can I make changes to the website?
You can update the website by editing the HTML, CSS, and JavaScript files on your local computer and then re-uploading them to Cloudflare Pages. - What alternatives are there for designing a static website besides Mobirise?
There are several popular alternatives for designing static websites:- Hugo or Jekyll: Powerful tools for creating static websites that require basic coding knowledge.
- Nicepage: Similar to Mobirise, offering a visual interface for website design without the need for coding.
- WordPress with a plugin like Simply Static: Allows you to build a dynamic site and convert it to a static website.
- Bootstrap Studio: A paid tool for Bootstrap-based responsive website design.
- Each of these tools is suitable for different needs, depending on the complexity of the website and the user’s technical experience.
- What types of websites are recommended for static building, and which are not?
Websites recommended for static building include small business profile sites, personal portfolio sites, landing pages, and event websites like for weddings or birthdays. These sites don’t require frequent updates or dynamic content.
Websites that are less suitable include blogs with frequently updated content, online stores with changing product catalogs, or portals that involve advanced user interactions (such as booking systems or forums). - How much does it really cost?
The only cost is purchasing a custom domain, which ranges from $10 to $12 per year. Using Mobirise and hosting through Cloudflare is free.